Quick Start Guide For Admatic
Admatic App Guide
1. Dashboard Page:
The dashboard page will give you a high level overview of your agency details and current connection integrations you have made mainly (Google, Meta, Tiktok)
You may also grab your primary Agency Profile Link from here as well.
2. Clients:
This section will display all clients that have used your onboarding link. When a client authenticates or provides any contact details on your connect page we log it into a unified "client identifiers" so we can always tie the same client to multiple connections. Our system utilizes a credit system on the amount of new clients you add into the platform. This way you are never charged additional credits for the same client re using your link now or in the future.
When clicking view details button on a client it will display all the connections they have attempted on your link and the result of those connection attempts.
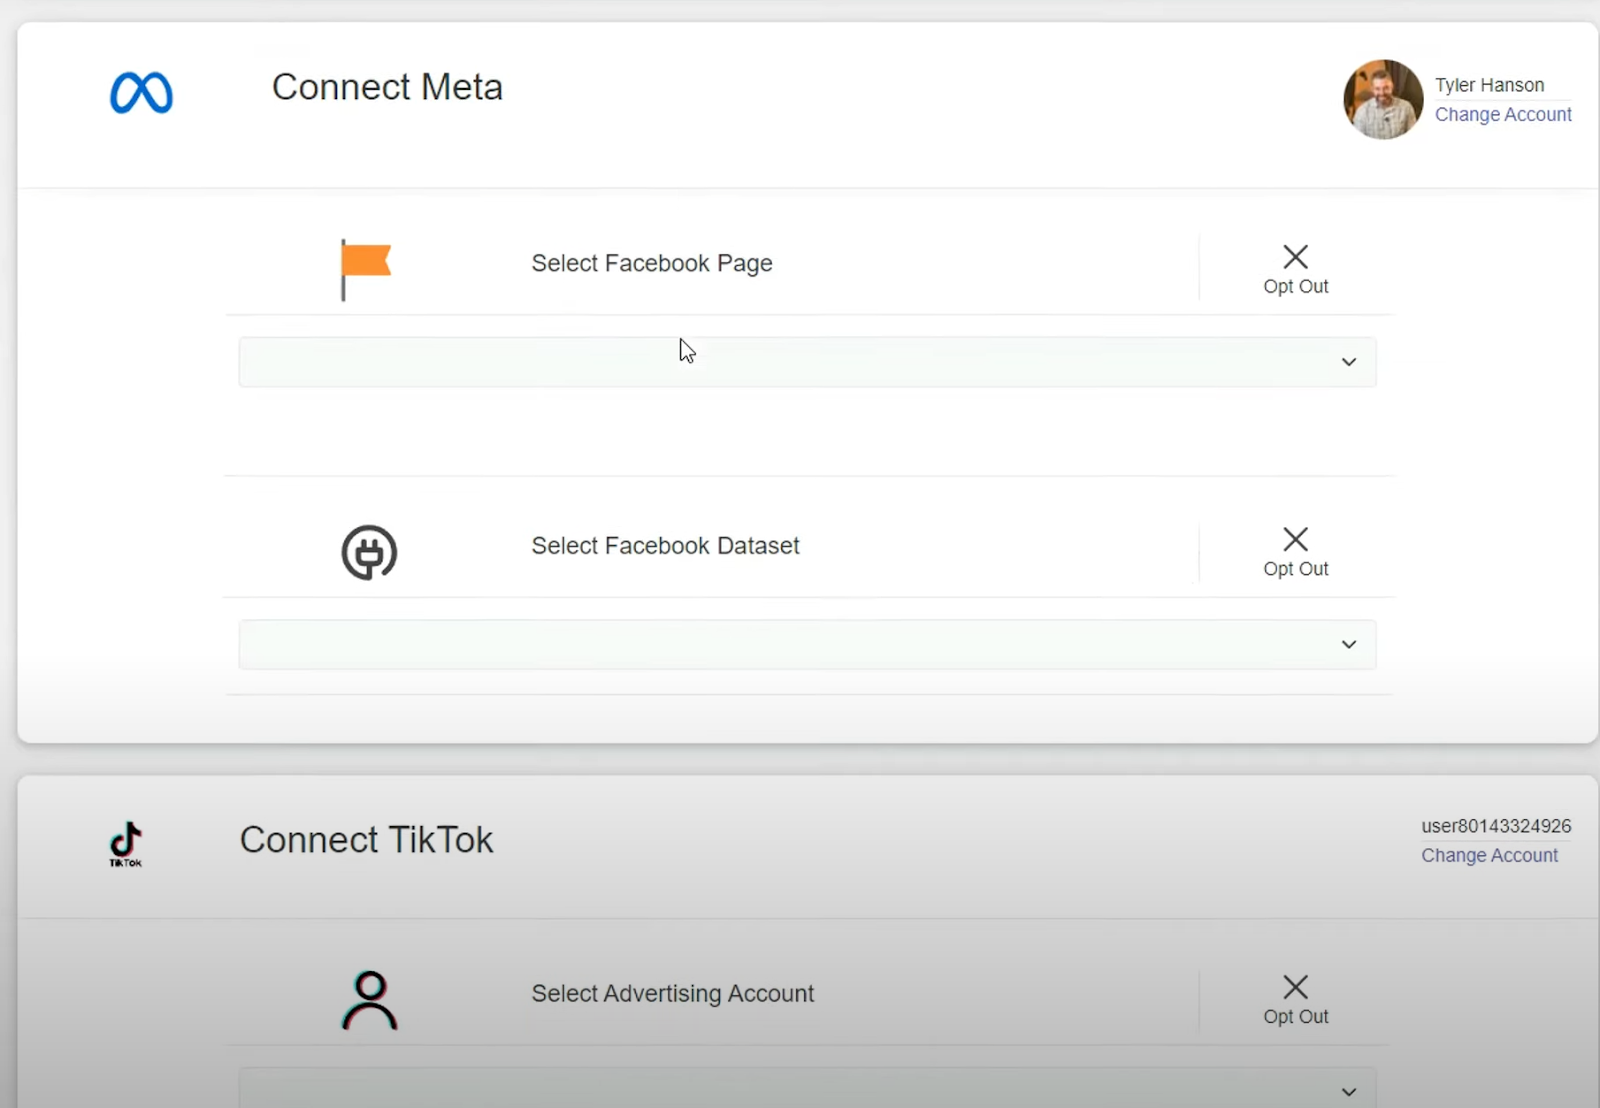
3. Connect Profiles
This is the main area where you will connect your agency integrations for connections and configure your connect profiles to request the type of assets you want your client to provide to your agency.
Step 1. Connect all integration types that require authentication (Google, Meta, TikTok)
Step 2. Once you have integrated your platforms you can click on the view details on your profile displayed at the bottom of the page. You will see a popup where you can configure the specifics of your link
Step 3. In the pop up you can update your link slug from the randomly generated one as well as choose the manager accounts you want to connect with on platforms like Meta and Google Ads. Additionally toggle the types of assets you wish to use for this link.
Depending on your plan level you can setup webhook events to a specific endpoint to send data from whenever a connection event happens on this specific connect profile your clients may use.
4. Settings
In this section you can update your logo and information that is displayed on your connect profiles like agency name, email, and website.
5. Team
Use this section to invite team members to your admatic account
6. Billing
You can manage your subscription with admatic here and view any invoices and your current credit usage for the month.
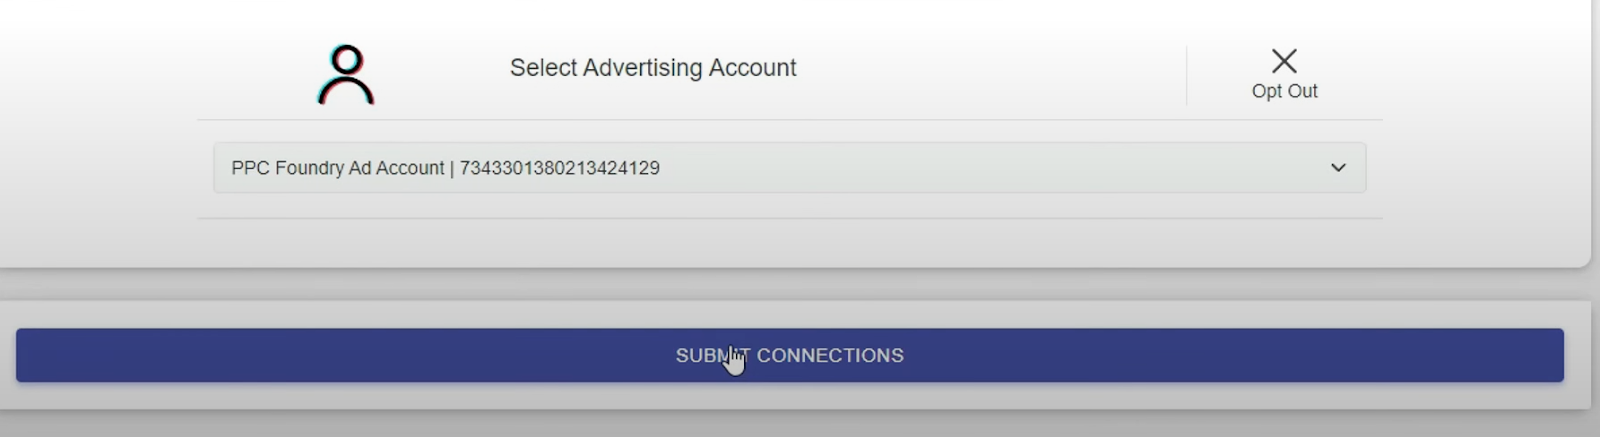
5. Submission:
Clients review their selections and submit connections.
Steps:
Review selected accounts and asset types.
Click "Submit Connections" to finalize.
6. Connection Review:
After submission, users are directed to the Connection Review Page.
It displays the results of the connection process.
Steps:
Review the status of each connection (success or opted out).
Access detailed connection information via email or portal.
Related Articles
Migration Details
How to Migrate From the Legacy Admatic System Admatic is now back up on a new system with improved performance, better tracking, and a more flexible billing model. Migrating is simple and only takes a few minutes. Follow the steps below to move your ...How To Use Webhooks
Webhooks Are Live In Business Level Accounts. Webhooks will allow you to send a POST request to a specific URL once a connection event has occurred on any of your connect Pages. You can also append a custom value to the query parameter ?custom_id= to ...Google My Business Agency Accounts (Organization Profiles)
We know fully support the ability for agencies that utilize the Organization or often referred to as an Agency Account for Google My Business management. There are some new steps in how to handle these. If you have already synced your GMB account in ...Create Meta Assets (Business Manager, Ad Accounts, Pages)
Hey Guys! As of today we have launched the ability for your users on your connect page to have the ability to create a business manager when they do not have one. This feature is available on all plans Here is a quick recap video of how this works: ...iFrame Embedding
Hey all! We are finally live with the ability to add your connect pages as an iFrame on any website. This is big for those using tools like Go High Level and other funnel type systems where you are making a true automation of your onboarding. **All ...